

How to Dockerize your app and deploy to Amazon EC2 with CI-CD using GitHub Actions


Introduction
Have you ever used: "It works on my machine,". Now, with containerization and cloud computing technologies like Docker and Amazon EC2, those days are gone. Docker, a leading containerization platform, provides a convenient way to package applications and their dependencies into containers which can run on any machine .
In this blog we are going to dockerize an application and then deploy it in Amazon EC2 with the help of CI-CD pipeline using GitHub Actions. Also in the bonus section, we will see how we can add domain name to our server and also add a free SSL certificate provided by Let's Encrypt.
Sections
Initialize the codebase
Dockerize the code
CI Pipeline
Setup EC2 instance
CD Pipeline
Setup Nginx
Add Domain Name (Optional)
Add SSL Certificate (Optional)
Initialize the codebase
You can start by initializing your codebase using a template or your existing project. You can use my sample Node.js server template available on GitHub.
git clone https://github.com/chaitak-gorai/server-template.git
This template provides a simple Node.js server with an MVC architecture. Before proceeding, make sure to update the Readme.md file for comprehensive information.
To run the project locally, execute the following commands:
npm i
npm run server
Dockerize the code
What is Docker
Docker is a containerization platform that allows you to package your application and its dependencies into a standardized unit called a docker image. This image can be run in a dedicated environment called a docker container.
Ensure Docker is installed on your machine; if not, follow the instructions for your operating system:
Ubuntu: Docker Installation
Windows: Docker Desktop Installation
To Dockerize your application, create a Dockerfile in the project's root directory. You can either create it manually or use the following command:
docker init
Note: This command generates three essential files: Dockerfile, .dockerignore, and compose.yaml. The .dockerignore file specifies images to ignore while building the Docker image. The compose.yaml file is used for Docker Compose.
Now, let's write the contents of the Dockerfile:
# Use the base Node.js image
FROM node:18.18.2-alpine

# Set environment variables
ENV NODE_ENV development
ENV PORT 3000
ENV JWT_SECRET secret

# Create a directory to hold the application code inside the image
WORKDIR /app

# Copy package.json and package-lock.json files into the image
COPY package*.json ./

# Install application dependencies
RUN npm i

# Copy the rest of the source files into the image
COPY . .

# Expose the port that the application listens on
EXPOSE 3000

# Run the application
CMD npm run server
Explanation of Dockerfile contents:
FROM: Specifies the base runtime image. You can choose the appropriate base image for your project.ENV: Sets environment variables for the application.WORKDIR: Creates a directory to hold the application code inside the image.COPY: Copies necessary files into the image.EXPOSE: Exposes the port that the application listens on.CMD: Defines the command to run the application.
Build the Docker image using the following command:
docker build [tag flag : -t for latest] [image-name] [code-directory]
docker build -t server-template .
Verify the created image:
docker image ls
Now, run the Docker image in a container:
docker run server-template
You can verify the app running from:
docker ps
You can find that the node server is running. But if we go to our browser localhost:3000 we couldn't find any response. This is because the server is running in the 3000 port of the docker container not in our machine. For this we need to map the port
-p host port: container port
docker run -p 3000:3000 server-template
Now you can verify the app running by going the browser.
Whoaa!!. We have created an Image which can be shared to anybody to run on their containers. But how can we share docker images.
Docker Hub
As for git there is GitHub which contains all codebase similarly you can push your docker images to Docker Hub.
You need to create a user account at docker hub https://hub.docker.com/signup
You can then login to docker via:
docker login -u [username] -p [password]
Now before pushing to Docker Hub we need to tag (rename) our image as username/imagename
docker tag image-name username/image-name
Now push the image
docker push username/image-name
Note here the default tag :latest is used. You can give custom tags by specifying at the end of the image name.
CI Pipeline
Now, let's create a Continuous Integration (CI) pipeline using GitHub Actions. This pipeline will trigger whenever new code is pushed to the main branch, build the Docker image, and push it to Docker Hub.
Create a ci.yml file inside the .github/workflows directory with the following content:
name: CI_PIPELINE

on:
  push:
    branches: [main]

jobs:
  build:
    runs-on: ubuntu-latest

    steps:
    - uses: actions/checkout@v3

    - name: Login to Dockerhub
      env:
        DOCKER_USERNAME: ${{secrets.DOCKER_USERNAME}}
        DOCKER_PASSWORD: ${{secrets.DOCKER_PASSWORD}}
      run: docker login -u $DOCKER_USERNAME -p $DOCKER_PASSWORD

    - name: Build the Docker Image
      run: docker build -t server-template .

    - name: Tag the image
      env:
        DOCKER_USERNAME: ${{secrets.DOCKER_USERNAME}}
      run: docker tag server-template $DOCKER_USERNAME/server-template

    - name: Push the Image
      env:
        DOCKER_USERNAME: ${{secrets.DOCKER_USERNAME}}
      run: docker push $DOCKER_USERNAME/server-template
Make sure to add Docker Hub credentials as secrets in your GitHub repository settings. For that:
Go to Repo Settings -> Click on Secrets and Variables -> Choose actions -> Click
create new repository secretadd your
DOCKER_USERNAMEandDOCKER_PASSWORD.
Setup EC2 instance
We will utilize Amazon EC2 instances to deploy our Dockerized application. Follow these steps to set up an EC2 instance:
Log in to the AWS console or create an account if you haven't already.
Search for EC2 and click on "Launch Instance"
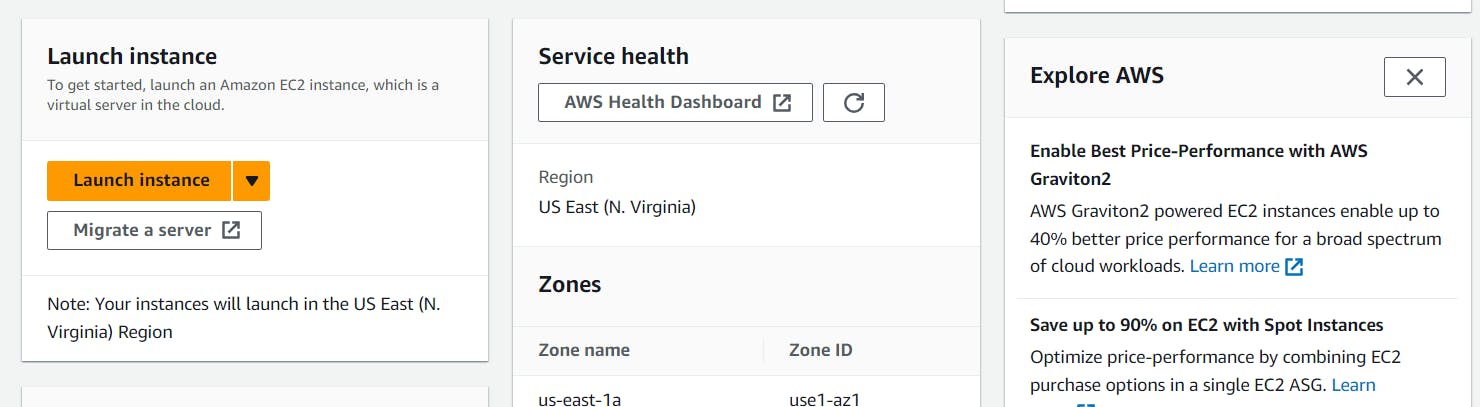
.
Choose Ubuntu Linux .
Select the desired machine (we have used t2-micro)
Create key pair for ssh login
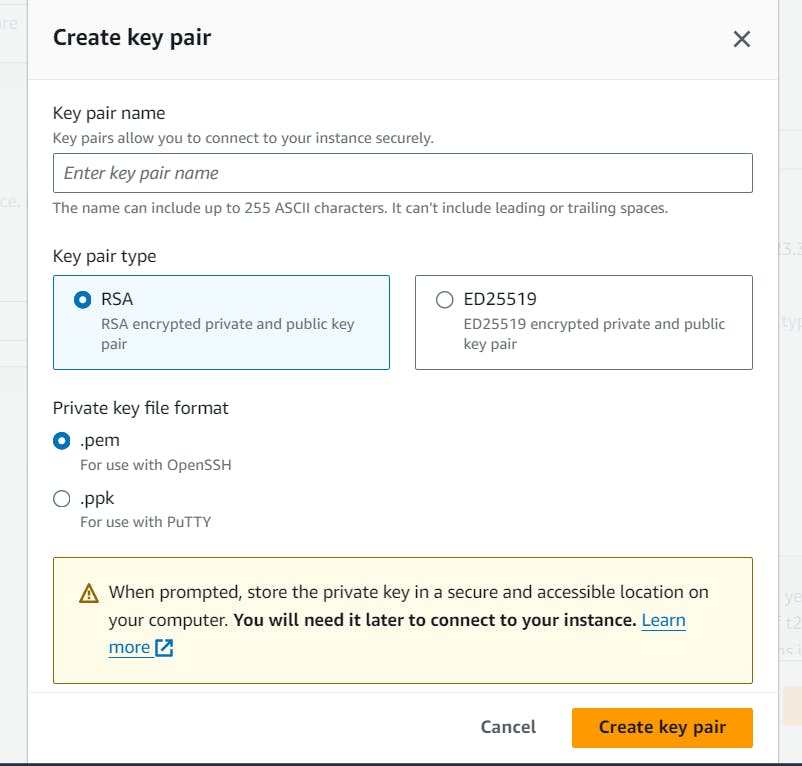
It will get dowloaded in Downloads,
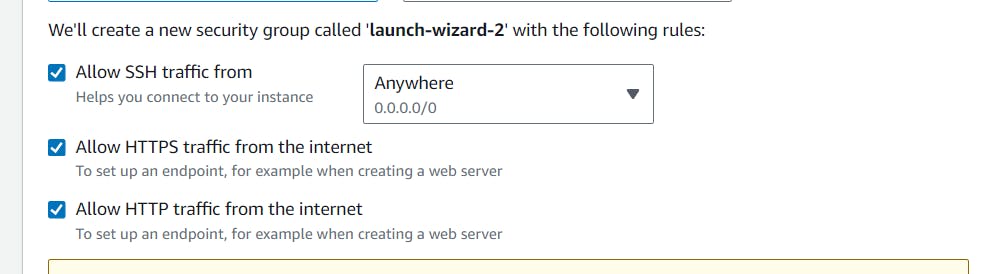
Check on allow Https and Http traffic
Finally launch the instance
Click on the instance and then click connect
Choose SSH client
Then run the following command from your downloads directory and replace the filename and instance name
ssh -i "ssh-key-filename" ubuntu@instanceNote: You might need to give the permission to access the file
chmod 400 "ssh-key-filename"- Run to update all packages
    sudo apt update
    sudo apt-get upgrade
Once connected to the EC2 instance, update all packages and install Docker following the instructions provided earlier.
After installing Docker, add the EC2 instance as a self-hosted runner in your GitHub repository to facilitate deployment.
Go to repo settings -> Click Actions -> Choose Runners
Click
new self-hosted runnerChoose Linux
Run all the commands for
DownloadandConfigureWe need to run the runner in background for that use
./run.sh &
Verify the runner is added by going to repo settings -> Actions -> Runners
CD Pipeline
Create a Continuous Deployment (CD) pipeline using GitHub Actions. This pipeline will run after the CI pipeline is finished, pull the Docker image from Docker Hub, delete the existing container, and run the new image.
Create a cd.yml file inside the .github/workflows directory with the following content:
name: CD_PIPELINE

on:
  workflow_run:
    workflows: ["CI_PIPELINE"]
    types:
      - completed

jobs:
  build:
    runs-on: self-hosted

    steps:
    - name: Pull the Docker image
      env:
        DOCKER_USERNAME: ${{secrets.DOCKER_USERNAME}}
      run: sudo docker pull $DOCKER_USERNAME/server-template:latest

    - name: Delete the old Docker container
      run: sudo docker rm -f server-template-container || true

    - name: Run the Docker container
      env:
        DOCKER_USERNAME: ${{secrets.DOCKER_USERNAME}}
      run: sudo docker run -d -p 3000:3000 --name server-template-container $DOCKER_USERNAME/server-template
Push a dummy commit to the main branch and check the Actions tab in github for running actions. If everything goes right you can check [IP]:3000 whether the server is running or not.
Nginx
To make our application available from the root URL (/), we'll use Nginx as a reverse proxy.
Install Nginx:
sudo apt install nginx
Open the default Nginx configuration file:
sudo nano /etc/nginx/sites-available/default
Add the following code within the server block:
location / {
    proxy_pass http://localhost:3000;
}
Test the Nginx configuration:
sudo nginx -t
If the test is successful, reload Nginx:
sudo nginx -s reload
Now, your application should be accessible from the root URL.
Domain Name (Optional)
If you have a domain name, you can configure it to point to your EC2 instance:
Add an A record with your server's IP address in your DNS provider's control panel.

It takes some time to reflect.
Update the Nginx configuration file to include your domain name.
server_name domain_name;Reload Nginx.
sudo nginx -s reload
SSL Certificate (Optional)
To secure your application with SSL/TLS encryption, you can obtain an SSL certificate from Let's Encrypt using Certbot:
sudo add-apt-repository ppa:certbot/certbot
sudo apt-get update
sudo apt-get install python3-certbot-nginx
sudo certbot --nginx -d yourdomain.com -d www.yourdomain.com
Replace yourdomain.com with your actual domain name. Certbot will automatically configure Nginx to use HTTPS.
Yehhh!! With these steps completed, your application should be fully Dockerized, deployed to Amazon EC2, and accessible with a custom domain over HTTPS.
Hope you enjoyed the process. Feel free to provide any suggestion through the comment section.
Thank you :)